When you have grown up on toasted bread for breakfast every other morning, you don’t often stop to admire the texture of the bread, the crunch of the crust or the size of the holes as you pull it apart. It’s an altogether different story when you invest nearly 24 hours kneading the dough, proving it, and proving it again, and finally baking it. You slice it with the greatest care, pick up a piece and inhale the smell that only freshly baked bread can exude, and go on to savor every bite.
I know its May 2021 and baking bread might be an old fad given the pandemic that we have been living through- but, hey, better late than never, right? While on the lookout for a fun baking project, I remembered the garden focaccia that had become quite the trend. While I love to bake, I have steered away from baking bread due to my not-so-pleasant experiences working with yeast. You don’t know when it might fail you- while kneading, proving or in the oven. To rise or not to rise, that is the question?

The last focaccia I had attempted was a disaster- let’s just say one wouldn’t call it bread. But as they say, time does heal all wounds and so here I was giving this an even more ambitious shot. While on the search for ideas on landscaping the focaccia, all I found were pages and pages of gardens, flowers, trees crafted on the golden bread. And so I hit up sanahrizvi.art for some creative brainstorming- I emptied out my fridge and pantry of everything edible and colorful and with the help of her imagination, we came up with a rough sketch of the focaccia design. Pictures are better than words when it comes to food so here is a photo journey of how the bread came along:


Recipe Notes:
- 2 cups all purpose flour
- 3 tsp salt
- 1 tsp active-dry yeast
- 1/2 tsp honey
- 1 cup lukewarm water
- 3 tbsp olive oil
- Mix the yeast in lukewarm water , add the honey, and let it stand for 15 minutes until you notice bubbles on the surface of the water.
- Whisk the salt into the flour and pour the yeast water solution into the flour.
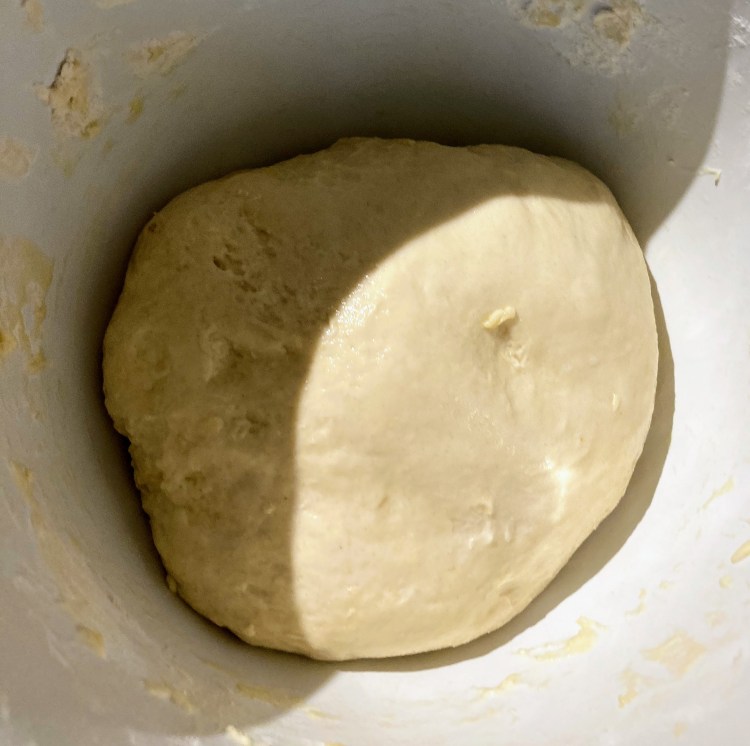
- Mix the dough together and knead it into a ball.
- Use a tablespoon of olive oil to coat the inside of a large bowl and place the dough in it- tossing it around once to ensure that it is coated with the oil. Cover the bowl with plastic wrap or a tea towel and refrigerate it overnight.
- Generously grease a 9×13 inch non stick pan with olive oil and transfer the ball of dough into the middle of the pan. Using the tip of your fingers spread the dough towards the four corners of the pan. For a more thicker bread, spread the dough till 3/4th of the pan.
- Make holes in the dough with your fingers and drizzle the remaining olive oil over the dough.
- Cover the pan and let it prove a second time for approximately 3 hours, at room temperature.
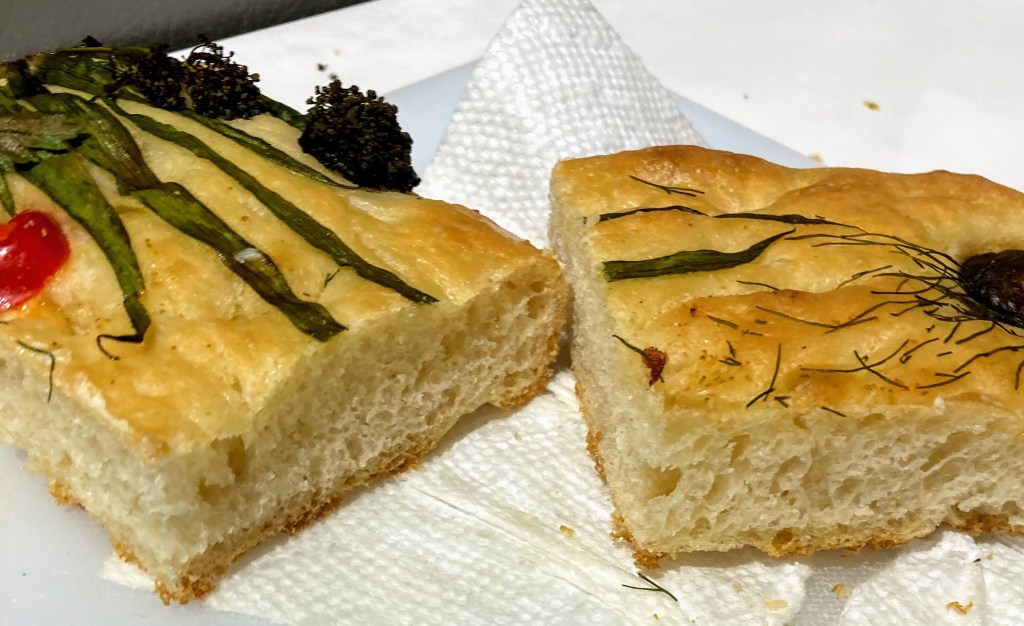
- Decorate the bread with vegetables of your choice. Here I have used a combination of spring onions, broccolini, asparagus, mushroom, fennel leaves, cherry tomatoes, sesame seeds, corn, kalamata olives, red bell pepper
- Preheat the oven at 425 degree F and bake the bread for 20 minutes.
- Let it cool for 10-15 minutes before cutting it with a long serrated knife.

Leave a comment